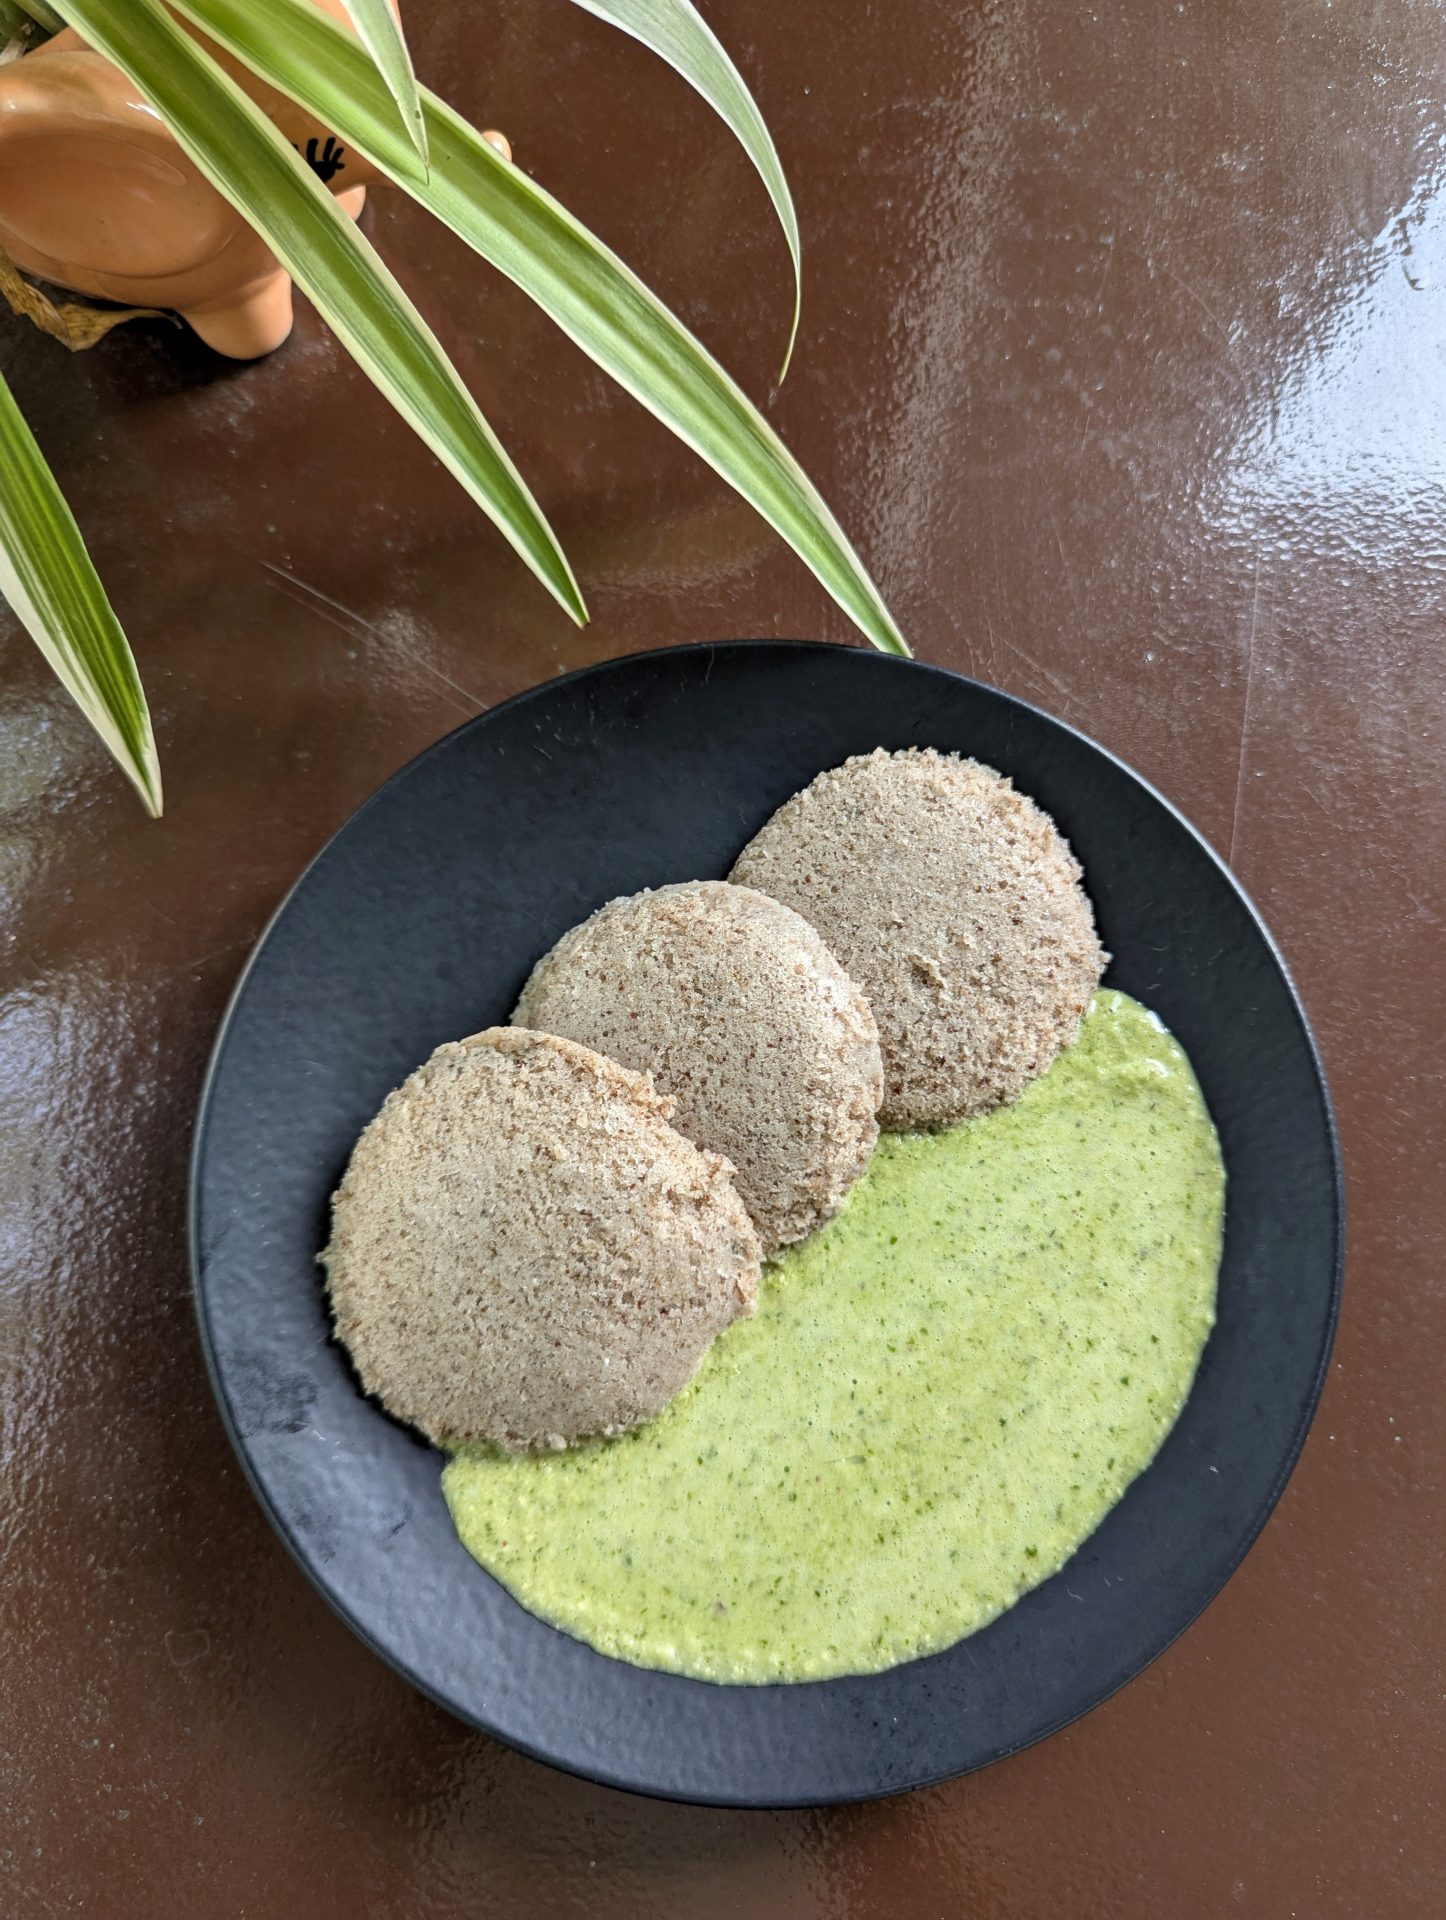
Quinoa Idli
 8 hours ( includes fermentation time)
 Serves 12 people
Idlis, are soft, fluffy, and delicious steamed rice cakes, are a staple in South Indian cuisine. But what if we told you there’s a way to make them even healthier? Enter quinoa idlis, a nutritious twist on the classic recipe.
What Are Quinoa Idlis?
Quinoa idlis are a modern, health-conscious variation of the traditional idli made by replacing rice with quinoa. However in this recipe I have partially substituted rice with Quinoa. Quinoa can be bitter sometimes, especially if it hasn’t been soaked well. Using a mix of Quinoa and rice will give a good texture without compromising on the health benefits. Known for its high protein content, fiber, and essential amino acids, quinoa is an excellent substitute that makes the dish not only gluten-free but also more nutritious.
Why Choose Quinoa Idlis?
1. Gluten-Free:
Traditional idlis, made from rice and urad dal, are already naturally gluten-free. However, many people seek alternatives due to allergies or other health reasons. Quinoa is naturally gluten-free, making quinoa idlis a great choice for anyone with gluten sensitivity.
2. High in Protein:
Unlike rice, quinoa is a complete protein, meaning it contains all nine essential amino acids that our body cannot produce on its own. This makes quinoa idlis a great choice for vegetarians, vegans, or anyone looking to increase their protein intake.
3. Packed with Nutrients:
Quinoa is rich in essential nutrients such as magnesium, iron, fiber, and antioxidants. It’s also a great source of B-vitamins, which are crucial for maintaining good energy levels, especially in the morning when you need a kickstart.
4. Light and Filling:
Quinoa idlis are as light and spongy as their rice counterparts but more filling. Thanks to the high fiber and protein content in quinoa, they can keep you satisfied longer, making them perfect for a nutritious breakfast or brunch.
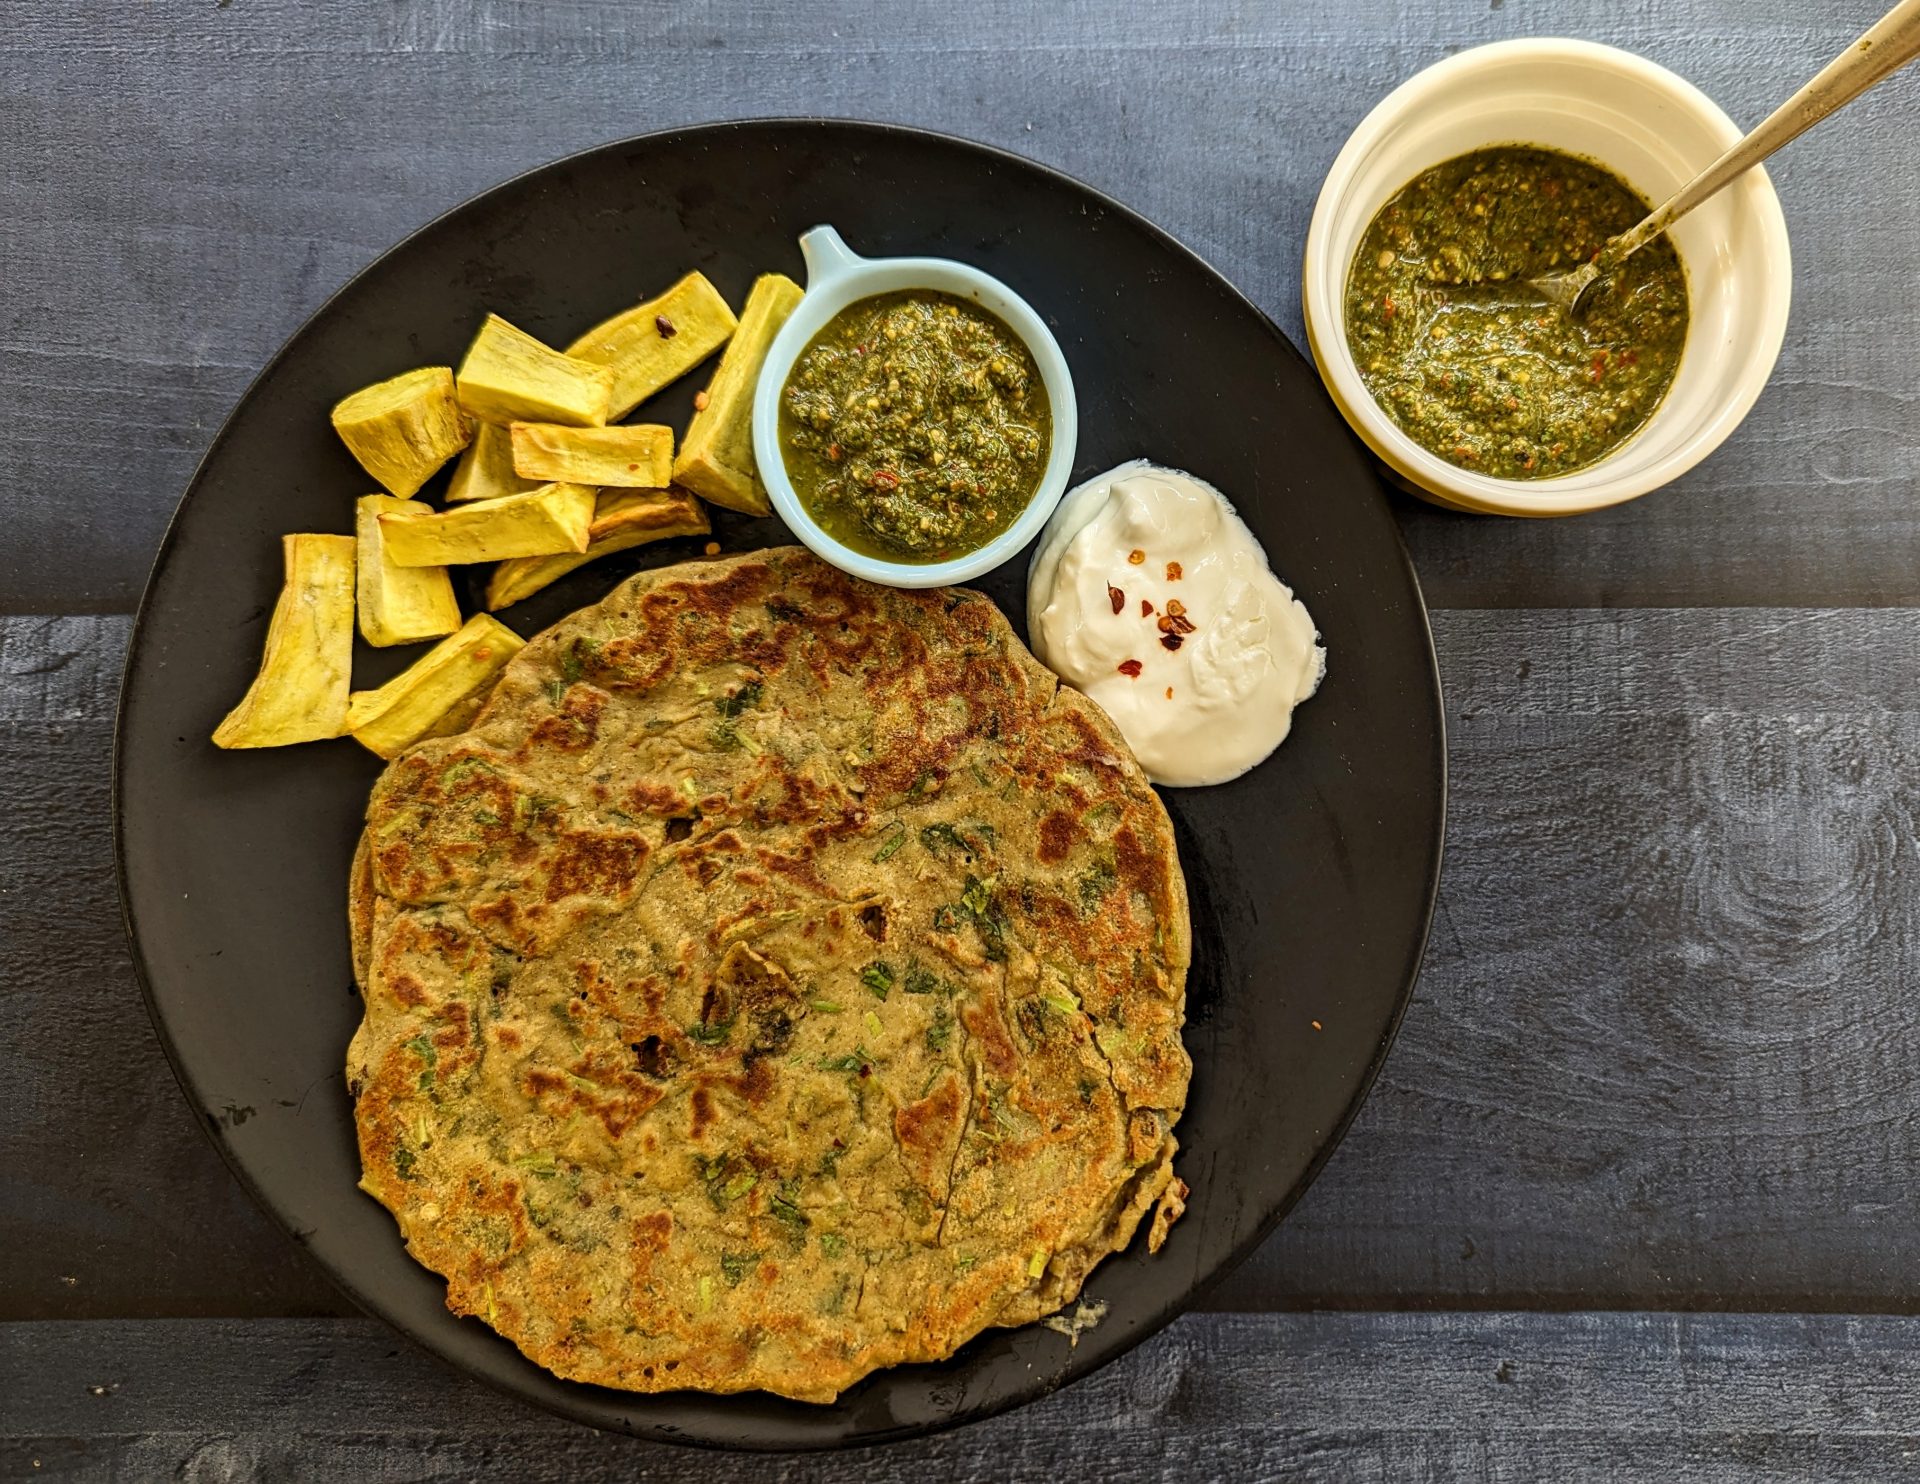
Let’s get together the recipe now. While you are here I request you to visit other recipes on the blog like Rava Dosa, Adai, MLA Pesarattu, Goli Baje, Garlic Lacha Paratha, Bature, Chole, and more
Ingredients
1. Quinoa 1.5 cups washed and soaked for 5-6 hours ( I used Red Quinoa)
2. Idli Rice 2.5 cups
3. Urad Dal 1 cup
4. Methi/ Fenugreek seeds 1 tbsp
5. Water as required for grinding
6. Salt to taste
1. Wash and soak the Quinoa separately for 5-6 hours
2. In another bowl wash and soak the Dal and rice together for 4 hours. Add the Fenugreek seeds here while soaking.
3. Rinse the Quinoa well, and drain all water. Repeat the same with soaked rice and Dal.
4. Now transfer the Quinoa to the rice and Dal mixture. Mix them well with your hand, to evenly distribute the Quinoa.
5. Now take small quantities of the Quinoa – rice- Dal mix and grind them in a blender using little water at a time. Try not to use more water, as you are grinding for Idli. After fermentation the consistency will be thinner, so better to use less water now.
6. The batter should be smooth with no grains in between. I have used a wet grinder, so I could grind all at once.
7. Add salt to taste, transfer the ground batter to a large bowl and leave it covered in a warm place for 8 hours. Lesser if you live in warm climes.
8. Once fermented, the batter would have risen to double the quantity in the bowl. Now using a ladle stir to release the gas.
9. Get your steamer ready . Grease the Idli moulds with oil, pour the fermented batter and steam for 10-12 minutes.
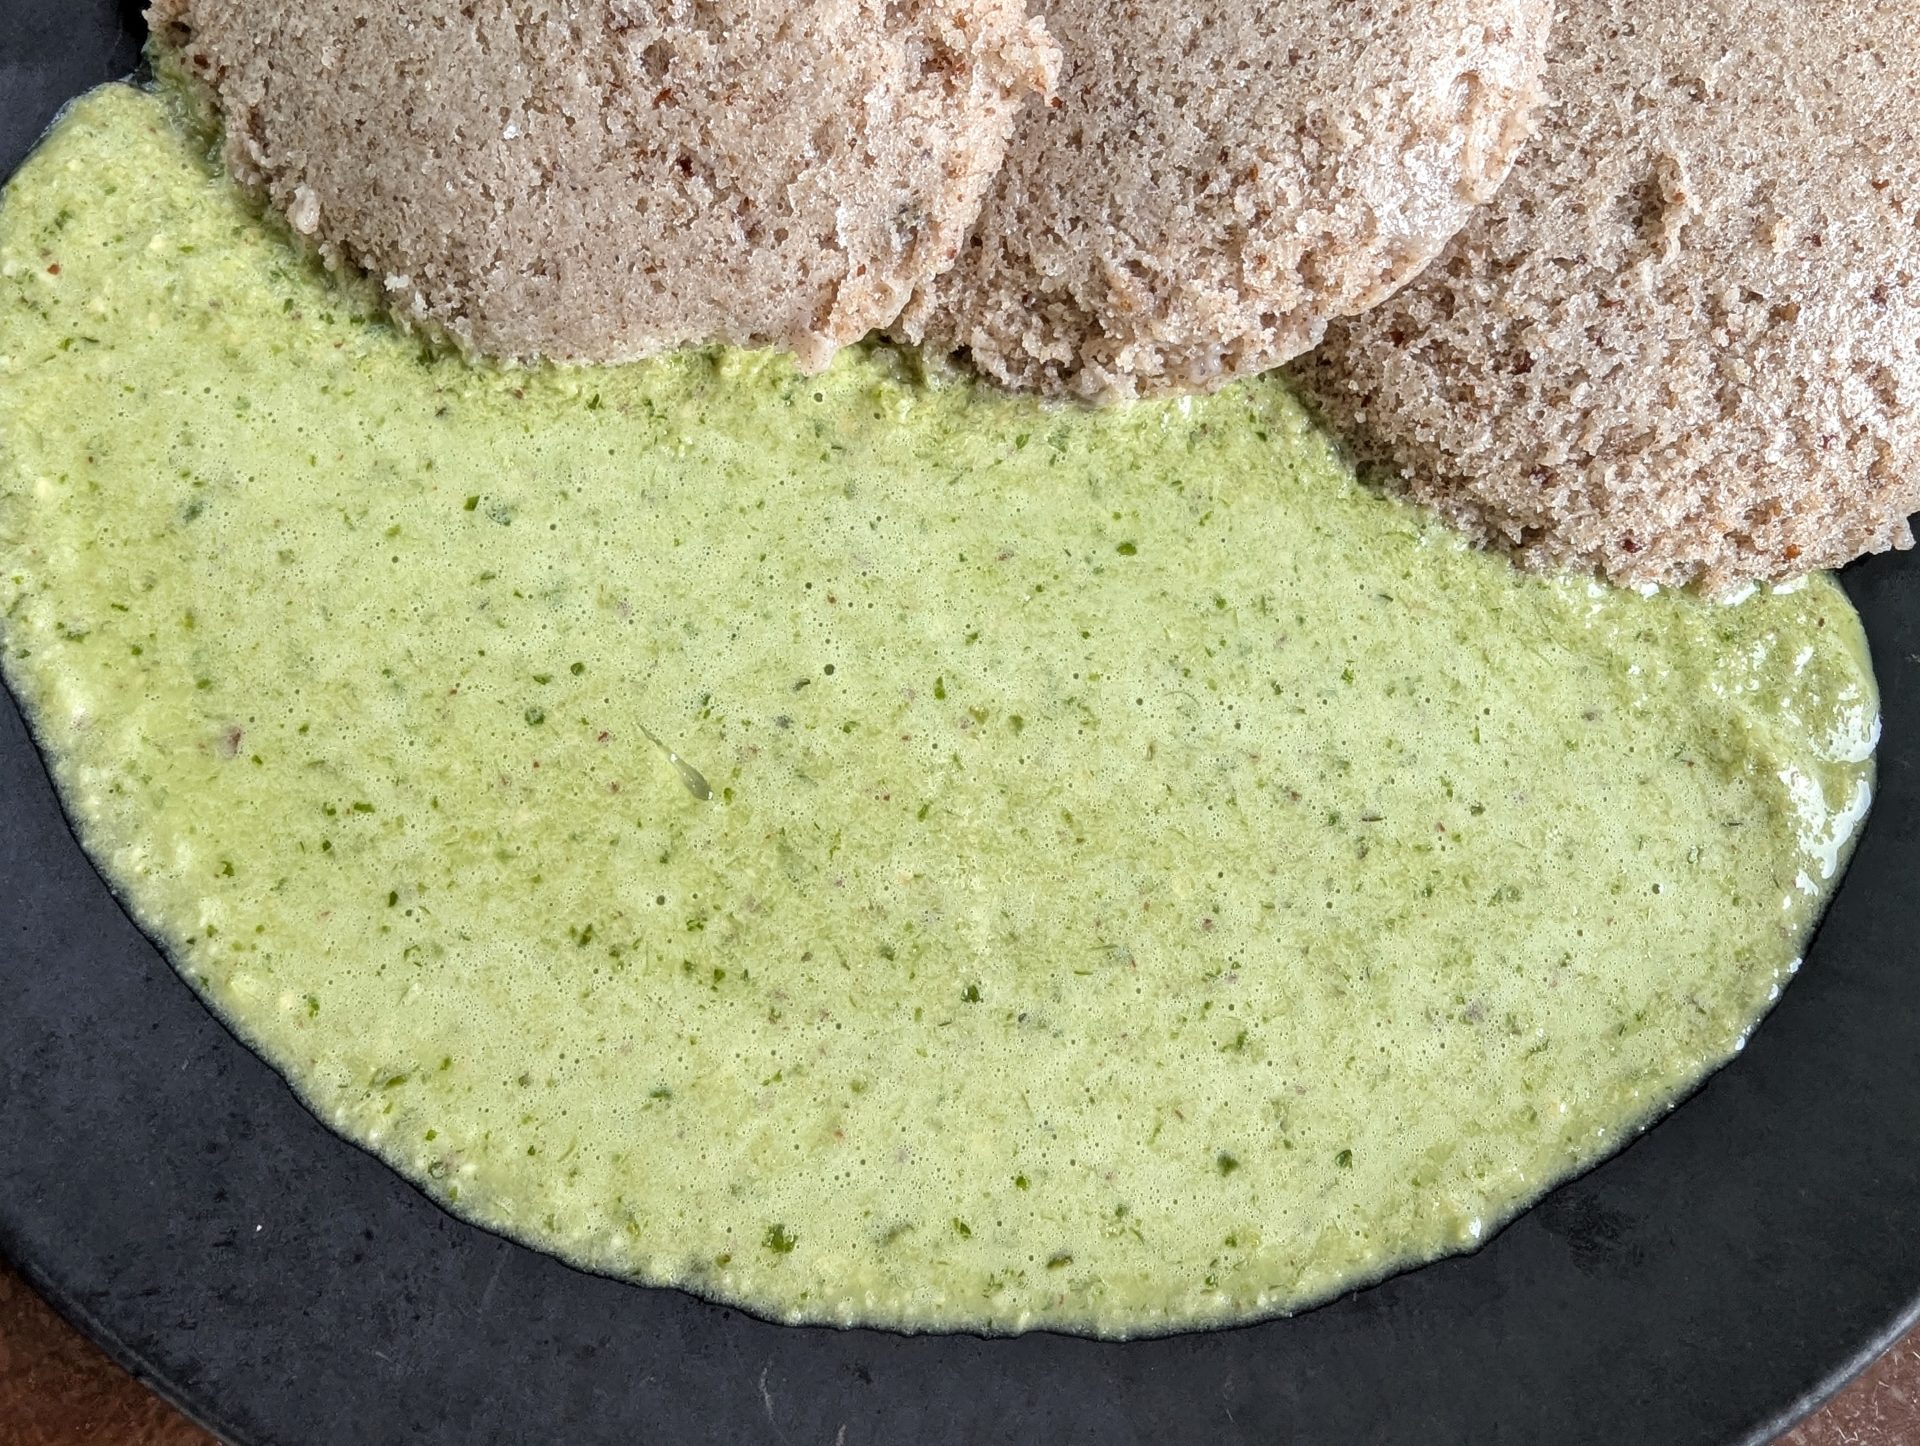
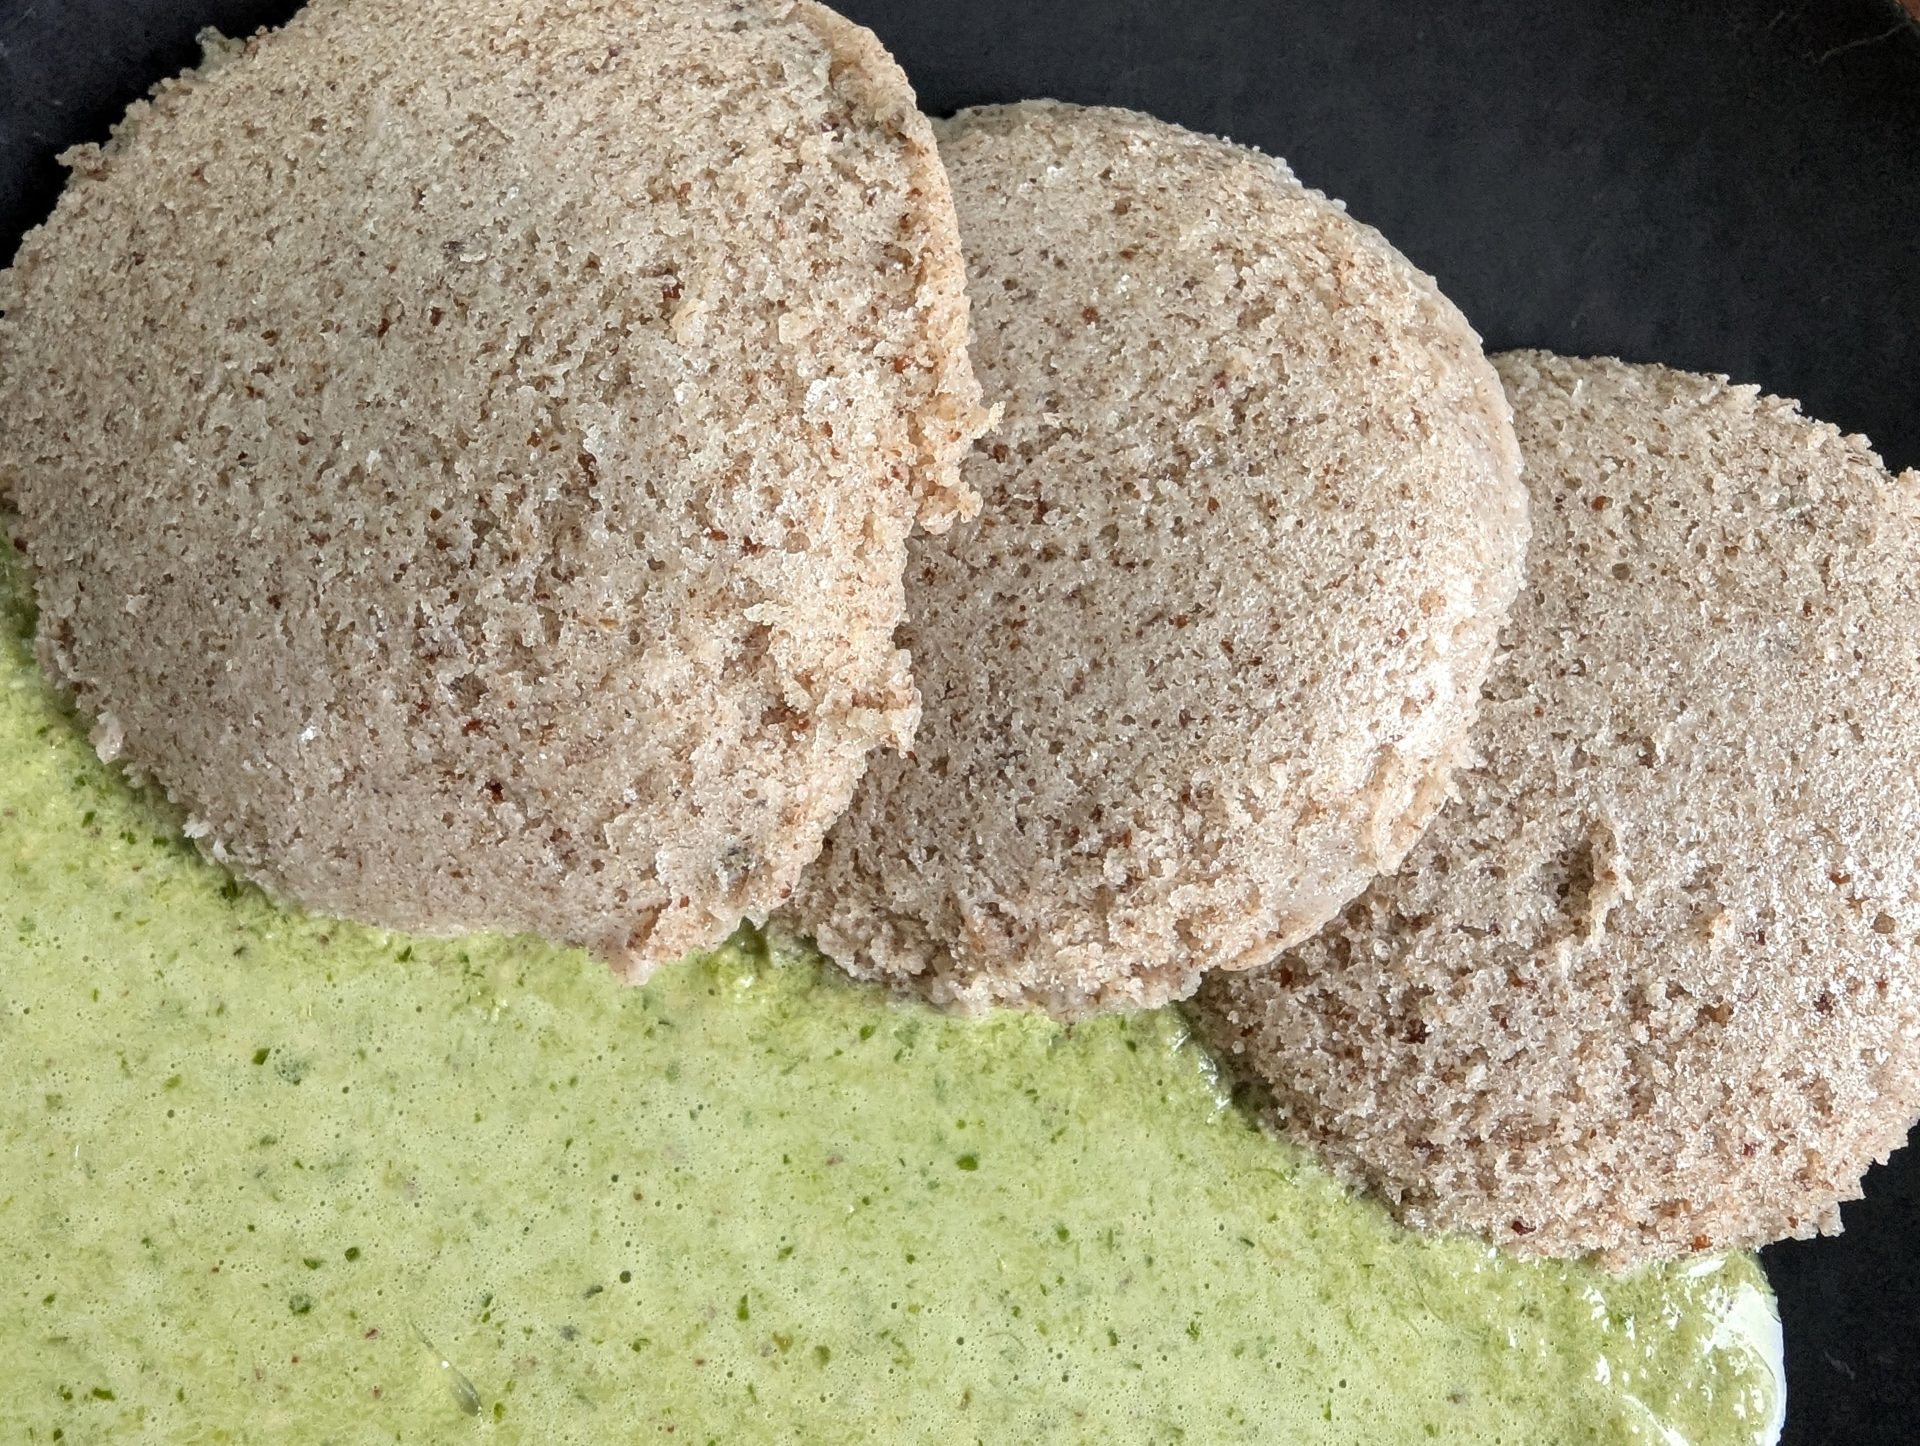
10. Turn off the flame, let it stand for two minutes, and with a wet spoon, demold the Idlis. Serve with your favourite chutney or Sambar and enjoy.
Notes:
1. I have used Red Quinoa. You can use any variety, just soak and rinse them well
2. Another proportion of the rice, quinoa and dal is – 1 cup dal, 1.5 cup Quinoa, 1.5 cup Idli rice
3. Remember to add Methi / Fenugreek seeds. They help make the idlis soft and fluffy and also help in fermentation.
4. You can also blend the Quinoa separately, and the Rice – Dal mixture separately and mix them all together, and leave to ferment.
5. Many people add salt after fermentation. I prefer to add it before, because I tend to forget the salt later.
Gallery
Get yummy recipes delivered to your inbox!
Be the first one to know about our new recipes. Leave your email below and get notified as soon as new recipes are published!