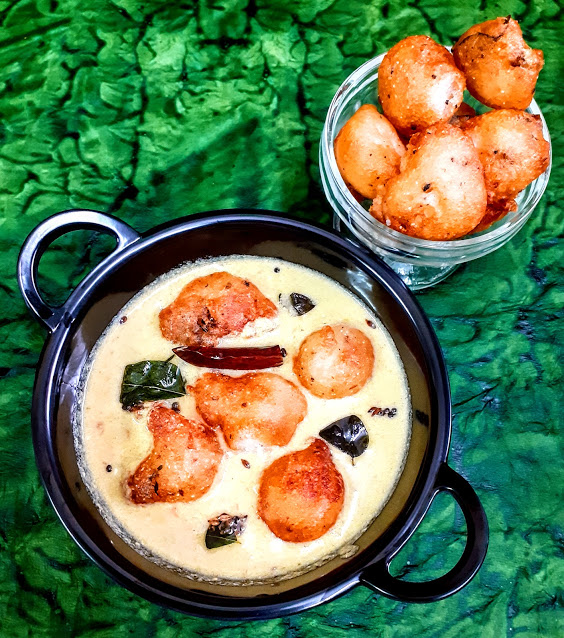
Bonda Moru Kuzhambu
This is a popular south Indian dish made of curd/yogurt and is the counterpart of the North Indian Kadi. In the North Indian Kadi chickpea flour or besan is used to give body to the dish, whereas in Mor Kuzhambu, Chana dal and Tuvar dal( yellow lentils and gram) along with coconut and coriander seeds are used to give body. The masalas used in Kadi are in powdered form, whereas in the South Indian Mor Kuzhambu the whole masalas are ground to a paste.
The array of vegetables that can be used in making this dish is huge. Vegetables like Plantains, Brinjal, Colaccasia/Arbi, Ash gourd, Pumpkin, Mango(ripe), Bhindi/Vendakai can be used to make this dish. These vegetables are used in a combination or individually to make the Mor Kuzhambu. Sometimes lentil dumplings are also used.
In this recipe, I am showing the method for the Bonda/Dumpling Moru Kuzhambu. This is a dish that I used to make so often in the past and then stopped making altogether for the past two years, for no specific reason ofcourse. Though the Moru Kuzhambu/Kadi is a weekly dish in my house, the Bonda Moru Kuzhambu I make only once in a while.
Usually, Urad dal/ Black lentils are soaked and ground to a fine batter and then deep-fried in oil. There is a popular south Indian snack called Mysore Bonda, so these Bondas are put in the Kadi. I make this in a much simpler fashion though. Idli/Dosa batter is a staple in all our homes, I have used that to make the Bondas with a little additional flours. That’s all.
While you are here please check out other recipes by me like Vatha Kozhambu, Moru Kuzhambu with Bhindi, Gutti Vankaya Kura, Drumstick curry, Brinjal Pepper masala, Pachai Sundakkai Kuzhambu, and many more…
Here is the recipe for Bonda Moru Kuzhambu-
Ingredients:
To Soak for 15 mins:
Dhania/Coriander seeds 1 tbsp
Jeera 1/2 tsp
Chana dal 1.5 tsp
Tuvar dal 1 tsp
Dry red chilli 1
Methi seeds a pinch(optional)
To grind:
Green chilli 1 big
Ginger1/2 inch piece
Coconut 2 tbsp +
All soaked ingredients after draining water.
Curd 300 ml or 2 cups(refer method) (1 cup=150ml)
For the Bondas/lentil Dumplings:
Idli/Dosa batter 1.5 cup
Rice flour 1.5 tbsp
Green chillies 2 chopped
Ginger 1/2 inch piece chopped
Cumin- pepper powder 1 tsp
Curry leaves a few
Oil for frying the dumplings
For tempering:
Oil 1 tbsp
Mustard seeds 1 tsp
Cumin seeds/Jeera 1/2 tsp
Dry red chillies 2 broken
urad dal 1 tsp
Chana dal 1/2 tsp
Curry leaves a few
salt to taste
Directions:
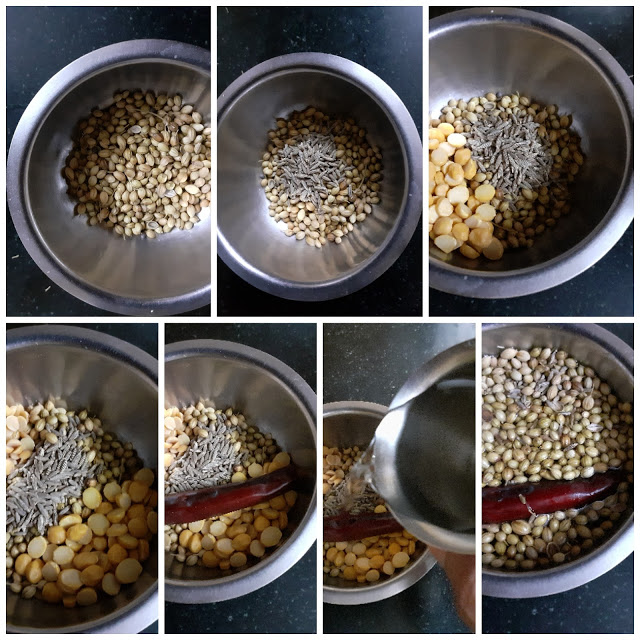
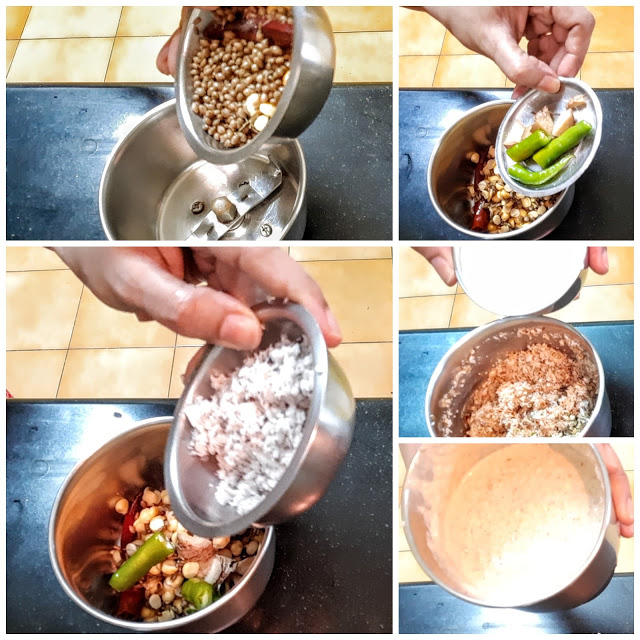
Soak all ingredients mentioned under “to soak” for 15 minutes. After 15 minutes, drain water and put the soaked ingredients into a blender. Add the ingredients mentioned under “to grind” except the curd and grind them to a coarse mixture. Now add 2 tbsp curd to the coarse mixture and grind again to a smooth paste.
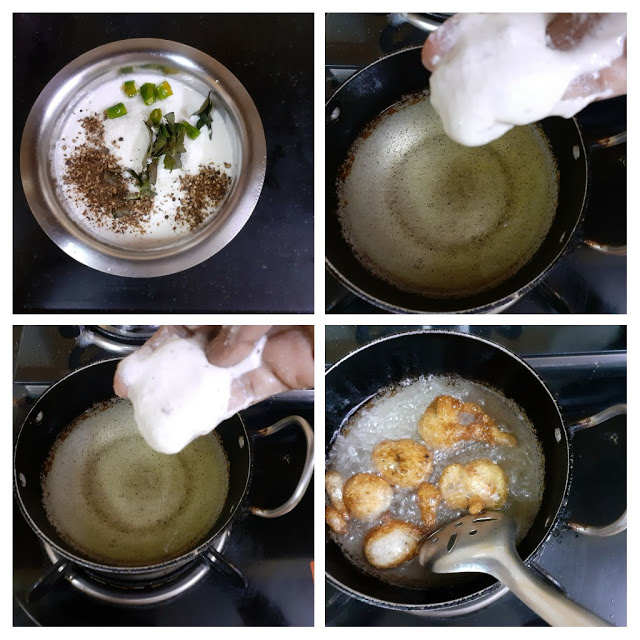
While the above ingredients are soaking, let’s fry the Bondas. To the Idli/Dosa batter add the rice flour, green chillies, ginger, cumin-pepper powder, and curry leaves and mix nicely. Heat oil in a Kadai for deep frying the Bondas. Now drop a small amount of batter into the oil with your finger or one can use a tablespoon to do it. Drop tiny amounts of batter, because they fluff up in the oil. Repeat for all batter, drain in absorbent paper and keep aside.
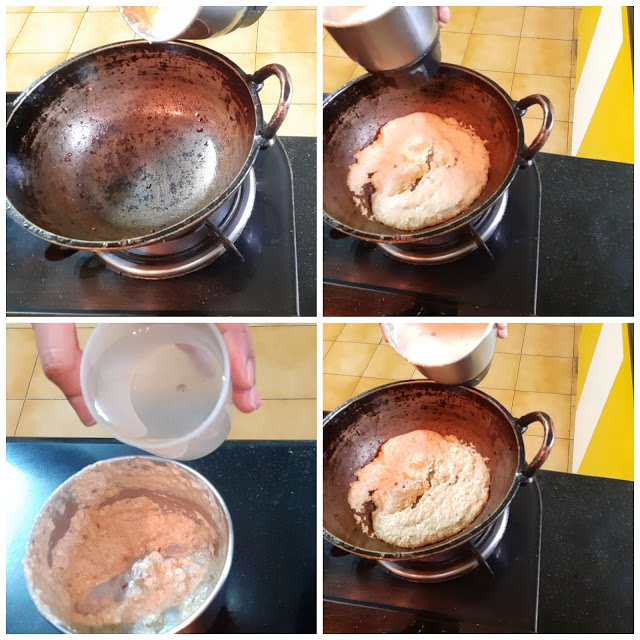
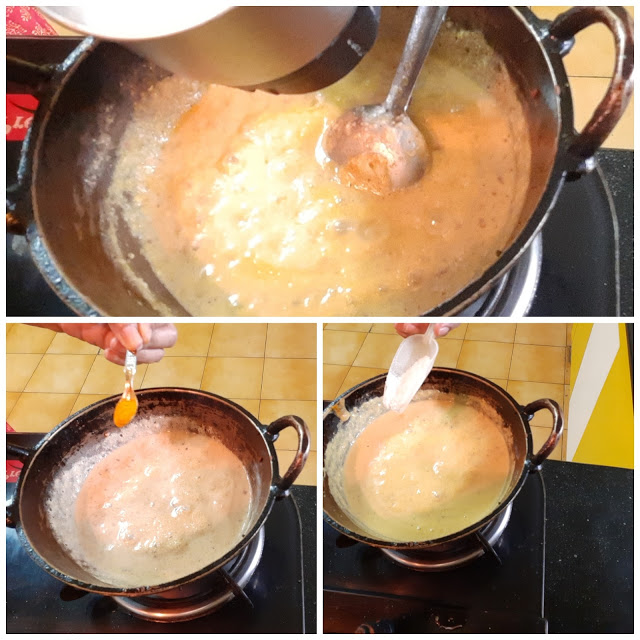
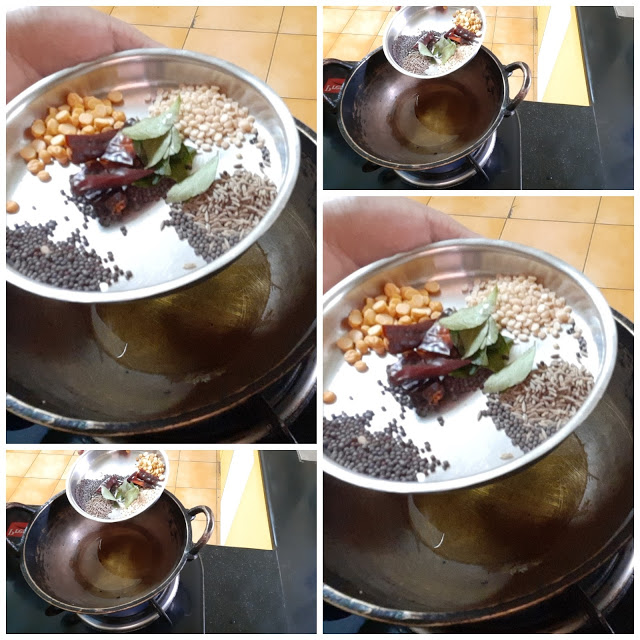
Now put a Kadai on the flame and pour the ground paste into it. Reduce the flame and add 1 to 1.5 cups of water and simmer it. The paste has to cook well, for about 2 minutes or until the raw taste of the masalas is gone. Now smoothen the remaining curd(we used only 2 tbsp for the paste) with a whisk or give it a single spin in the blender and pour this curd into the cooking paste. Add turmeric powder and salt. The flame should be low throughout. Once the curd is poured, keep stirring constantly for a few minutes. This should take approximately 2 minutes and then switch off the flame. Once the curd is poured, it should not simmer for long. Now add the fried Bondas. Now in a small Kadai heat oil, add all the tempering ingredients, fry them and add to the Mor Kuzhambu.
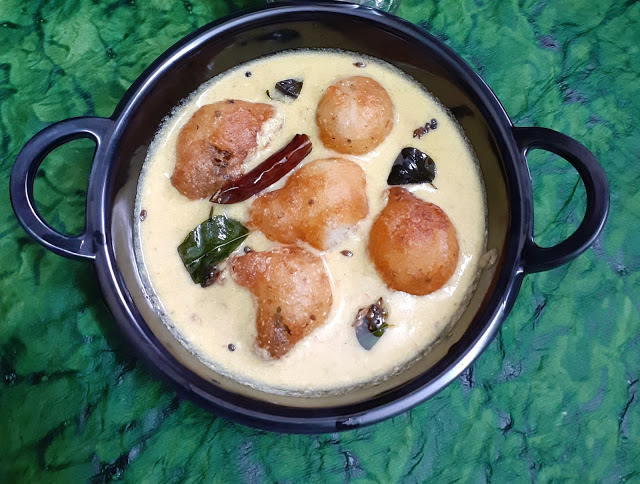
Let the Bondas soak for 10 minutes. The tasty Bonda Mor Kuzhambu is ready to relish.
Serving Suggestions: Hot rice and Parupu Usili on the sides. It is a match made in heaven with Coconut(Thengai ) Sevai(rice hoopers) or even with Coconut rice.
STEPWISE RECIPE FOLLOWS
1. Assemble all ingredients. Soak all ingredients mentioned under “to soak” for 15 minutes. After 15 minutes, drain water and put the soaked ingredients into a blender.
2. For the same reason once the curd is poured into the masala paste it has to be stirred constantly, to avoid separating of water and curd, which will turn the dish runny.
3. To fry the Bondas use a spoon to drop the batter, as it is safer. At a time a few Bondas can be fried.
If you tried this recipe and liked it please comment below. I would love to hear from you. If you have a query about the recipe email us and ill respond as soon as I can.
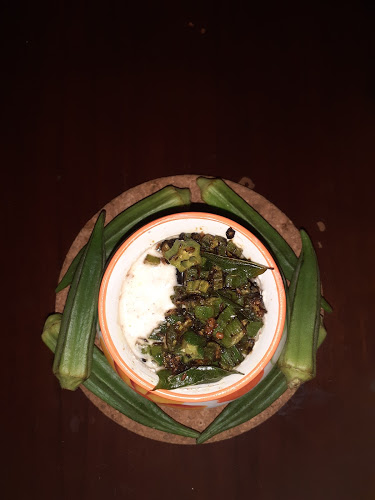
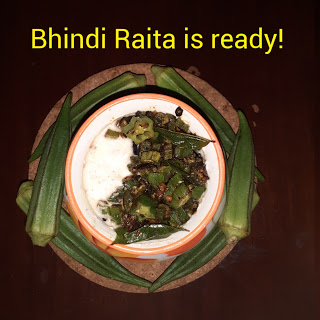
Bhindi Raita
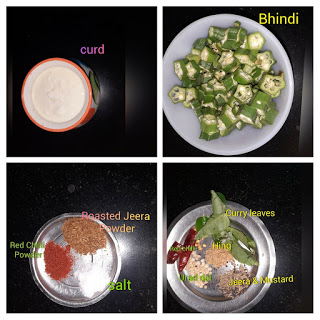
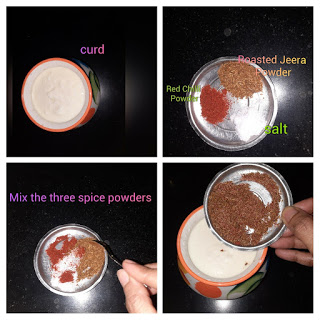
Raita is a yoghurt-based condiment. It usually contains cooked or raw vegetables/fruits/pulses, mixed with the Yogurt/Dahi and tempered with Mustard and Jeera. The Raita is usually served with Biriyani, Pulav, Parathas, Naans or can be served as a dip for Kebabs too.
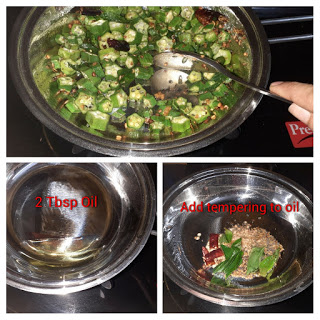
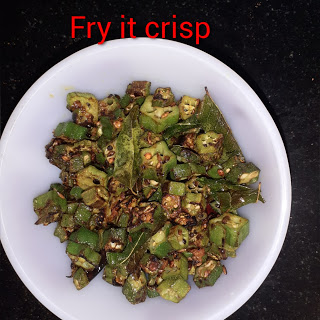
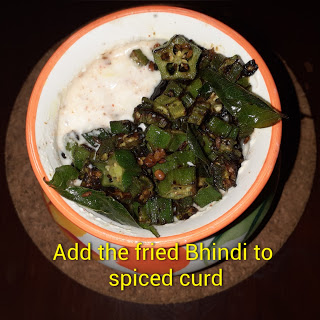
4. Fry the Bhindi on high flame for 2 mins, add salt and continue to saute. Keep at it until the Bhindi turns crisp(will shrink in size). Put off the stove and cool the Bhindi. Once cool the bhindi can be added to the chilled spiced curd.
