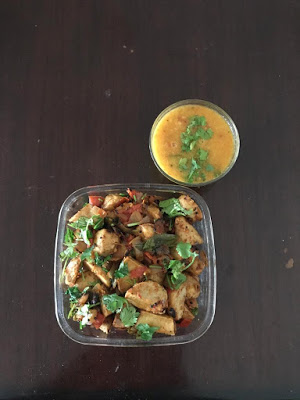
Mirchi Ki Sabji ( with Banana Peppers)
Bombay Potatoes
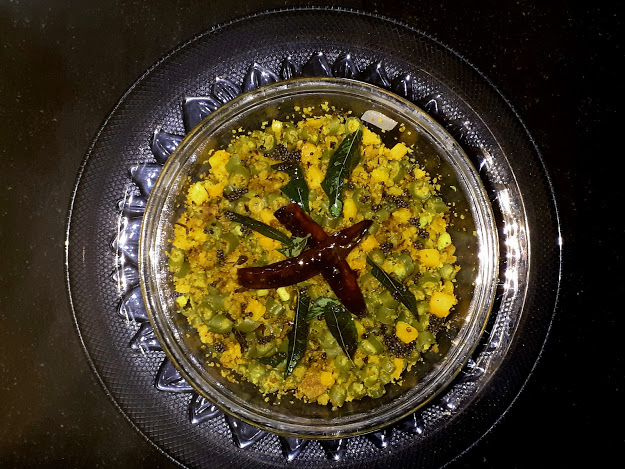
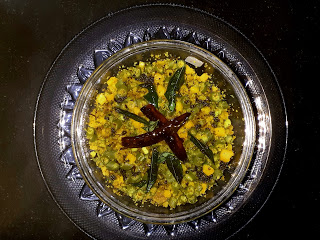
Beans Paruppu Usli
Paruppu Usli is a South Indian(Tamilian) dish made by crumbling dal. The crumbled dal is then added to cooked vegetables. A wide variety of vegetables like Banana flowers, Cabbage, Capsicum, Radish greens, and Beans can be added to the Usli.
This is a dry(without gravy)side dish which can be served to go with Rasam rice, Vatha Kozhambu rice, More Kozhambu(Kadi)rice, and other varieties.
There are many versions of making the Usli. Some use just a single dal to make the Usli(dal crumble) and some use a combination of dals. I prefer Chana dal(split peas) to make the Usili. It is very easy to crumble this dal and is tastier than the other dals.
The Usli tastes amazing just by itself too. Here’s the recipe of Beans Paruppu Usli.
PREP TIME: 20 Mins COOK TIME: 20 Mins
TOTAL TIME: 40 Mins COURSE: MAIN
CUISINE: SOUTH INDIAN SERVINGS: 4
AUTHOR: Rajni Ram
Ingredients:
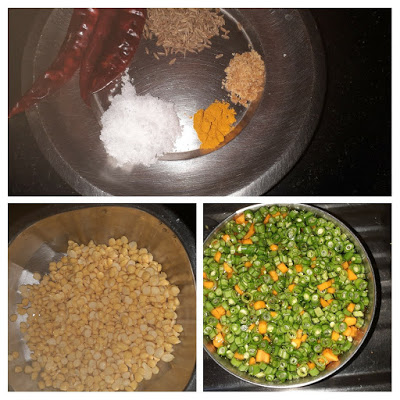
French Beans 250 gms chopped fine.
Carrot 1 (just for colour)
Chana dal 1cup soaked for 1/2 an hour
Cumin seeds 1 tsp
Dry red chillies 3
Asafoetida 1/2 tsp
Turmeric powder
Curry leaves a few finely chopped
Oil(refined) for crumbling the dal 2tbsp
Directions:
Chop the French Beans, and carrot and add some salt and turmeric powder and cook them in sufficient water. When you can crush the Beans-carrot between your index and thumb finger, stop cooking. Drain the water and cool. Now put the soaked Chana dal after draining out the water in a blender, add the dry red chillies, cumin seeds, turmeric powder, salt and asafoetida and grind to a coarse paste. Add very little water to grind. Now take oil in a heavy-bottomed Karahi(preferably NOT nonstick) and heat. Add the finely chopped curry leaves and pour the dal mixture into karahi immediately. Start scrambling the dal. A Dosa flipper works best for this while you are scrambling the dal, keep breaking the bigger lumps for them to crumble further. The finer you are able to crumble the better. This takes between 10 to 15 minutes. Once you have fully crumbled the dal it should look like a coarse powder. Transfer the crumbled dal to another vessel from the karahi. Now add the cooked Beans-Carrot to the Karahi and start evaporating any remaining moisture in it, by sautéing it well. When there is no more moisture in the Beans add the crumbled dal mixture to the Beans-Carrot and mix well. Check for salt and adjust if required. The yummy Beans Usli is now ready to serve. Serve it with some Vatha Kuzhambu rice, Rasam rice or More Kozhambu rice. I love it with Rotis too. Enjoy. Bon Appetit.
STEPWISE RECIPE FOLLOWS:
1. Assemble all ingredients. Chop and cook the Beans and Carrot( take care, not to overcook)and soak the Chana dal for 1/2 an hour.
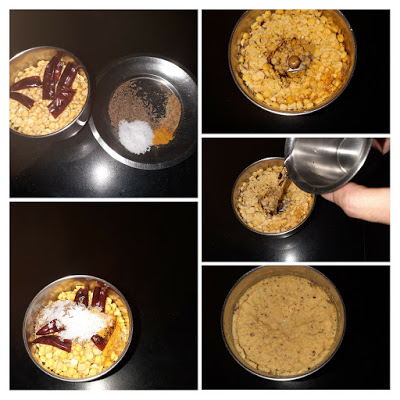
2. Now in a blender put the soaked Chana dal after draining the water, the cumin seeds, dry red chillies, turmeric and asafoetida and grind to a coarse paste. Add as little water as possible.
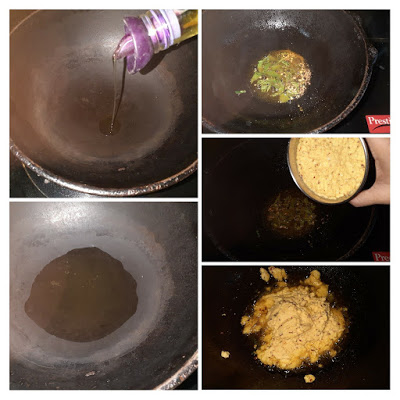
3. Take a Karahi and pour in oil around 2 tablespoons and heat. Add the chopped curry leaves to the oil and add the ground Chana dal mixture.
4. Start scrambling the mixture using a Dosa flipper( makes the process easier). Keep breaking the bigger lumps into smaller ones and crumble the mixture. It should start becoming dry. By the end of the crumbling procedure, the dal should look like a coarse powder. This takes 10 to 15 minutes and some patience. Flame to be medium to low throughout.
A quick video to show you how to crumble the dal????
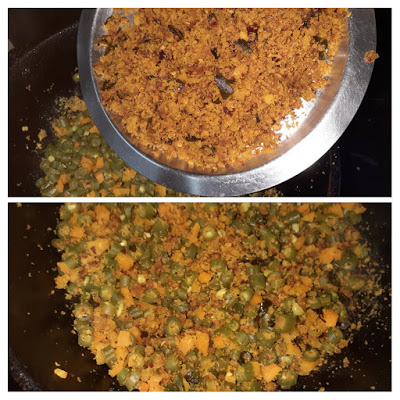
5. Once the dal is crumbled, transfer it from the Karahi to another vessel. In the same karahi put in the cooked Beans and Carrot and evaporate any remaining moisture.
6. Once the vegetables become dry add the crumbled dal to them and stir. Mix them nicely so that the vegetables and dal are well combined. The Beans Paruppu Usli is now ready to serve.
NOTES:
1. The dal has to soak at least for half an hour.
2. I have not tempered the Usli while or after making it, anyway no harm in tempering too.
3. The vegetable should be nicely stir-fried and all water evaporated before adding the dal crumble because if there is any moisture it will all turn lumpy.
4. Instead of Beans, any other vegetable given above can also be used. The crumble procedure will be the same.
If you tried this recipe and liked it then please comment below. I would love to hear from you.
Arbi Masala (Spicy Colacassia)
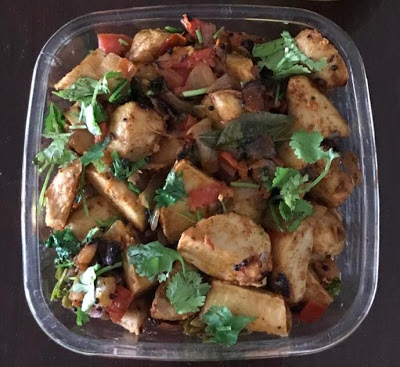
A simple everyday subji. I make the Arbi/Arvi as a roast, sometimes a simple fry and it can also be added while making Sambhar or Kadi. This tuber is a little slimy, but that can be managed by dusting the Arbi with a little Besan/ Gram flour or rice flour. In this recipe, I have pre-cooked the Arbi in a pressure cooker and then baked it for the extra crispiness. You can also deep fry it. I do that quite often too. Let’s get to the recipe right away.
PREP TIME: 10Mins COOK TIME: 40Mins
TOTAL TIME: 50 Mins COURSE: MAIN
CUISINE: SOUTH INDIAN SERVINGS: 4
AUTHOR: RAJNI RAM
Ingredients:
Arbi/Colaccasia 250 gm( boiled and skin peeled)
Onions 2 roughly chopped
Tomatoes 2 large finely chopped
Green chilli 2 chopped
Fresh coriander 1 tbsp finely chopped
Salt to taste
Red chilli powder 1 tsp
Coriander powder 1.5 tsp
Fennel powder(optional) 1 tsp
Garam masala powder 1/2 tsp
oil for frying and making the masala.
Cumin 1 tsp
Curry leaves a few
Directions:
Boil the Arbi in a pressure cooker, with a little salt for 2 whistles. Stick to 2 whistles or it will turn soggy and lose the crispness in the subji. Cool it, Peel the skin cut it into medium size pieces( if very small, use as it is), and set aside. To deep-fry, take oil in a Karahi and heat it. drop the cut Arbi gently into the oil and fry until they are a nice brown and crisp.
If baking, then place them on a greased tray, drizzle a little oil over them, or you could use a brush to apply the oil and bake at 180 degrees for half an hour, turning over the Arbi midway, say around 15 mins. Bake until brown and crisp. Set aside.
Now in a pan or Karahi heat 1 tbsp oil. Add the cumin and turmeric and add the green chilli and chopped onion to this and saute well. Fry them well, but don’t get them brown. Now add in the tomatoes, salt, and all the dry spices. cook until the tomatoes break and release water and the mixture looks like a thick paste. Add the garam masala and fresh coriander and mix. Finally, add in the fried/baked Arbi and mix nicely, so that the masala paste coats it evenly. Serve hot with Parathas, Roti, or Dal Chawal.
STEPWISE RECIPE FOLLOWS
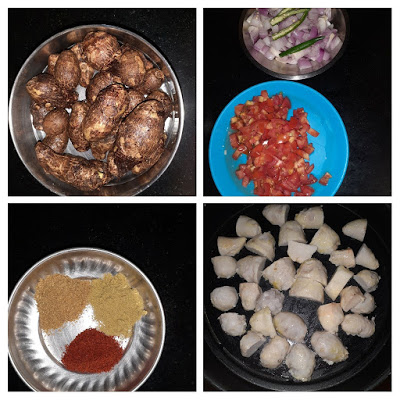
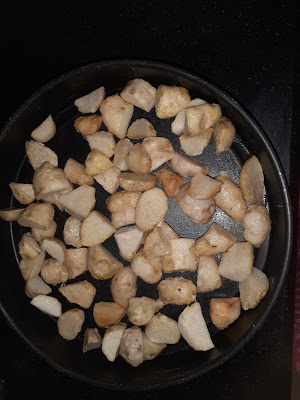
1. Assemble all ingredients. Cook Arbi in a pressure cooker for 2 whistles. cool. Peel skin, cut into cubes, and set aside.
2. Fry the cooked and cut Arbi in oil or bake in the oven at 180 degrees for 1/2 an hour. They should be nicely browned and crisp.
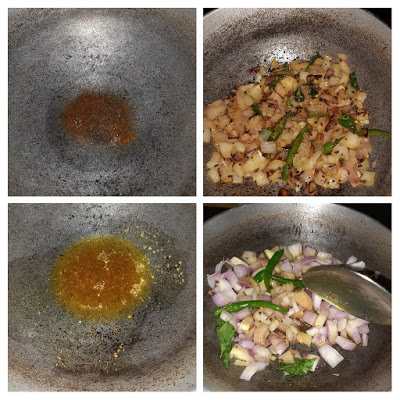
3. In a pan or karahi heat oil. Add the cumin and turmeric powder. Add in the green chillies and onion and fry well.
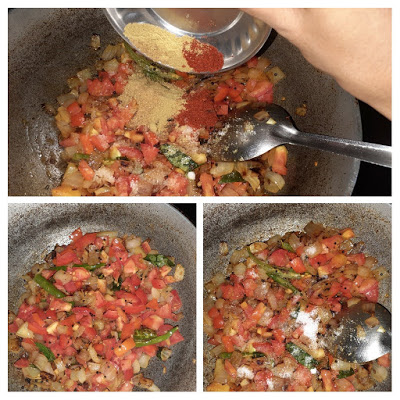
4. Add the tomatoes, salt, and all dry spices mentioned under ingredients. Saute the mixture well. The tomatoes should become soft and the mixture should resemble a semi-dry paste.
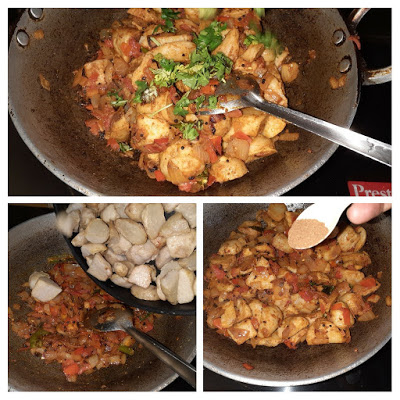
5. Add in the garam masala and chopped coriander and finally add the fried/baked Arbi and give a good stir. The masala paste should coat all the Arbi’s well. Sprinkle some more chopped coriander and we are ready to serve.
6. Serve with Rotis, Parathas, or just Dal Chawal. Enjoy. Bon Appetit.
Notes: 1. Amchur/ dry mango powder can be used along with other dry masalas if you prefer a little more tanginess. I have not added as I almost always use the country tomatoes/desi tomatoes/Naatu thakkali. They are naturally sour than the hybrid tomatoes or the Bangalore ones.
2. A little gram flour can be mixed with the dry spices and sprinkled over the Arbi before frying them. I have added besan as the Arbi is going to be mixed into the paste, and so will not taste bland.
If you tried this recipe and liked it please comment below. I would love to hear from you.
